Applying Nail Polish the Right Way: Streak-Free in Three Layers
In this article
Evenly opaque, glossy nail polish looks professional and lasts considerably longer than a hastily applied coat. The key isn’t expensive polish, but technique: clean preparation, thin layers and the right build-up of base coat, color and top coat. Once you master these three layers, you can say goodbye to streaks, bubbles and chipped edges. In this guide I’ll show you step by step how to apply nail polish the right way.
The Right Preparation
Before a single drop of color touches the nail, the base matters. A well-prepared nail takes the polish evenly and makes it last longer.
- File nails into shape: Always work in one direction, not back and forth in a sawing motion, so you don’t roughen the nail layer.
- Push back the cuticle: With a rosewood stick you create a clean surface all the way to the nail fold.
- Degrease: Wipe each nail with a little nail polish remover or pure alcohol. Grease and cream residue are the most common reason polish peels off later.
Important: don’t apply a greasy hand cream before painting. Better to pamper your hands afterwards or the evening before.
Layer 1: The Base Coat
The base coat is the invisible insurance for your manicure. It evens out small ridges, protects the natural nail from staining by dark pigments and gives the color polish better grip.
Apply it in a thin layer and let it set for one to two minutes until it no longer feels tacky. For nails with lengthwise ridges, a smoothing base coat is worthwhile, as it visually levels the surface. Anyone prone to staining, for example after wearing intense reds, will especially appreciate the protection.
Layers 2 and 3: The Color in Thin Coats
Now comes the color, and this is where most mistakes happen. The most important principle is: apply thinly and work in two coats. A thick layer dries faster on the outside than the inside, throws bubbles and streaks as the brush passes.
Here’s how to do it:
- Wipe the brush: Scrape off excess polish on the neck of the bottle so only a small drop remains on the brush.
- Three-stroke technique: Place the brush just above the cuticle, draw one stroke down the center, then one each to the left and right. This covers the nail in three clean strokes.
- Seal the edge: Run the brush once over the front edge of the nail. This prevents early chipping.
- Let it dry: Give the first layer two to three minutes before the second follows.
The second color layer perfects the coverage and creates the rich, even depth of color. Only after this layer is the color fully opaque. If you want a color gradient instead of a single-color surface, you’ll find the right method in our guide to ombré nails with a sponge.
What to Do About Mistakes at the Edge?
You don’t have to repaint small smudges of color on the skin. Dip a fine brush or a pointed cotton swab in nail polish remover and correct the edges as soon as the color has slightly set. This keeps the contour clean.
Layer 4: The Top Coat as the Finish
The top coat is the crowning touch and protects the color from scratches, loss of shine and quick chipping. It binds the color layers together and gives that characteristic mirror gloss.
- Apply it generously but evenly and pull it over the front edge of the nail too.
- Ideally seal the entire nail including the tip with it.
- For especially long wear you can refresh the top coat after one or two days, which revives the shine.
There are quick-drying and high-gloss varieties. A quick-drying top coat noticeably shortens the waiting time, but it doesn’t replace the full drying-through underneath. If you prefer a velvety look to a mirror shine, reach for a matte top coat. Learn how to get the velvet look with matte nail polish without streaks, which calls for a slightly different application technique.
Letting It Dry Properly
Patience at the end determines the result. On the surface, polish is often touch-dry after a few minutes, but it’s only fully cured after a considerably longer time. In the first ten to fifteen minutes, avoid anything that puts pressure on the nail.
These aids speed up drying:
- Cold water: After a few minutes, hold the nails briefly under cold water, which hardens the surface.
- Drying spray or drops: A thin film of oil settles over the polish and protects it from imprints.
- Cool air: Only use a hairdryer on the cold setting, as warmth makes the polish soft instead of firm.
Avoiding Common Mistakes
To keep your manicure looking good for a long time, watch out for these pitfalls:
- Layers too thick: They are the main cause of streaks and dents.
- Old, gummy polish: Thickened polish can no longer be spread cleanly. A few drops of thinner help, while acetone ruins the polish.
- Painting on a greasy surface: Without degreasing, the polish chips off faster.
- Handling things too soon: Patience while drying pays off.
If you’re switching from gel polish to regular nail polish, you should gently remove the old build-up beforehand. How to do this without damaging the natural nail is explained in the guide to removing gel polish yourself.
Which Shade Suits You?
Which nail polish shades flatter your skin’s undertone? Find out:
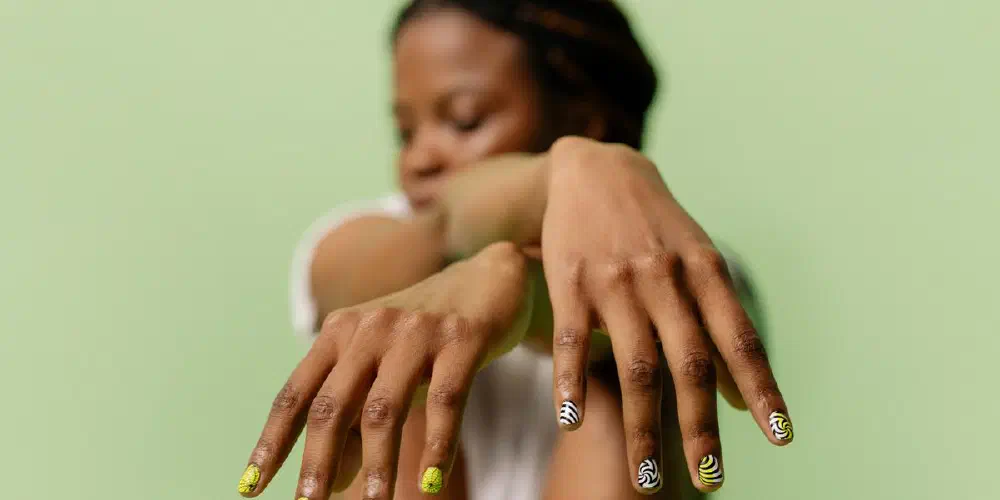
Welcher Nagellack-Farbton passt zu dir?
Wähle deinen Hautunterton – wir zeigen dir schmeichelnde Farbtöne.
Tipp: Adern am Handgelenk wirken bläulich = eher kühl, grünlich = eher warm.
Frequently Asked Questions (FAQ)
How many layers of nail polish are ideal? As a rule, you work with four layers: a base coat, two thin color layers and a top coat. For very heavily pigmented polishes, one color layer is often enough, while for light or transparent shades three may be necessary.
Why does my nail polish go streaky? Streaks usually result from layers that are too thick, too little polish on the brush or painting over a still-wet layer too quickly. Apply more thinly, work with the three-stroke technique and let each coat set briefly.
How long does nail polish really need to dry? On the surface, polish is touch-dry after a few minutes, but fully cured only after about an hour. Above all, in the first fifteen minutes don’t plan any activities where you might knock against your nails.
Can I use a top coat as a base coat? This is not recommended. Base and top coat have different jobs: the base coat adheres to the natural nail and gives the color grip, while the top coat seals and shines. A combination product is a stopgap, but separate products deliver the better result.