Nail stickers & nail wraps: the peel-and-stick manicure
In this article
Note: This article contains affiliate/advertising links. As an Amazon Associate we earn from qualifying purchases. If you click such a link and buy something, we may receive a small commission – at no extra cost to you.
Nail stickers and nail wraps promise exactly what many of us dream of when it comes to manicures: finished designs in minutes, with no brush, no drying time and no smudged disasters right before heading out. Instead of painting on color, you simply stick it on – from a small decorative accent to a full-coverage film that covers the entire nail. In this article you will learn how nail stickers, nail wraps and UV gel wraps differ, how to apply them cleanly step by step, how to make them last longer, how to remove them without residue and who really benefits from the peel-and-stick manicure.
Nail stickers, nail wraps and UV gel wraps: the differences
The three terms are often mixed up, but they describe different products – and that matters, because application and wear time differ considerably.
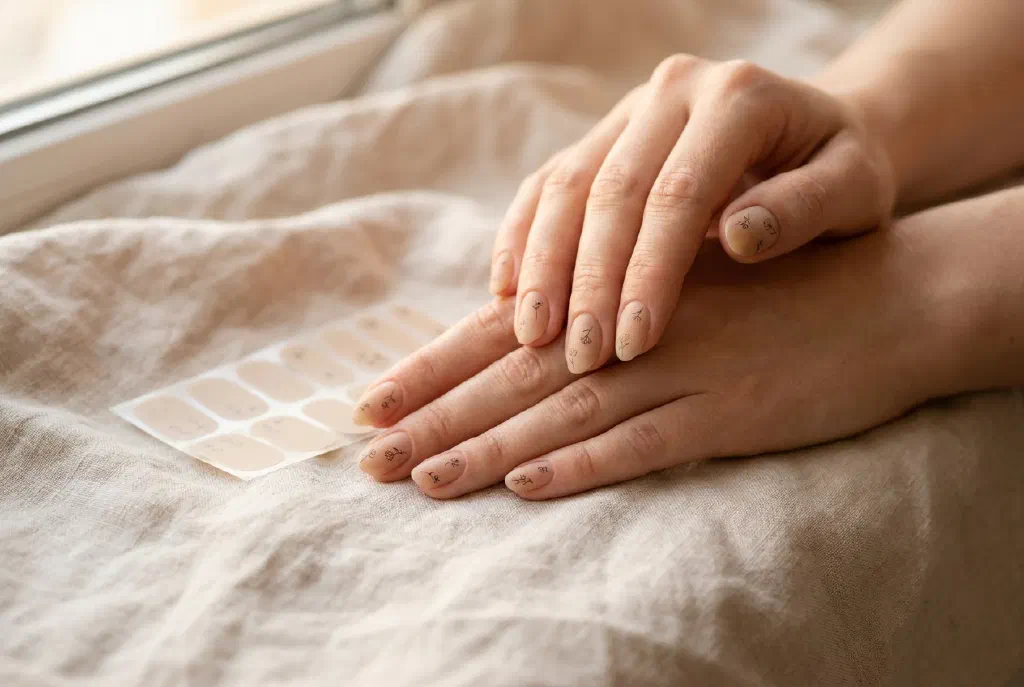
- Nail stickers: Small decorative decals – flowers, hearts, stars, lettering or delicate lines. They do not cover the whole nail but add accents on top of polish or the natural nail. Ideal if you want to upgrade your manicure without painting motifs yourself – essentially a shortcut to nail art for beginners.
- Nail wraps (nail films): Self-adhesive films that cover the entire nail – solid-colored, patterned, with a French look or glitter. They fully replace nail polish: stick on, adjust, file off the overhanging edge, done. No drying time, no smell, no lamp.
- UV gel wraps: The evolution of the classic wrap. They consist of semi-cured gel that molds softly to the nail and then hardens under a UV or LED lamp. The result feels like a gel manicure and usually lasts noticeably longer than classic wraps – but you need a lamp. To find out which one suits you, read the comparison of UV lamps vs. LED lamps.
In short: stickers = decorative accent, wraps = stick-on polish replacement, UV gel wraps = polish replacement with a gel feel. Unlike press-on nails, none of the three change the length or shape of your nail – they only sit on the surface.
Application step by step
Whether sticker or wrap: the biggest mistake happens before you stick anything on. No film in the world will hold on an oily or damp nail surface. Take as much time for the preparation as for the application itself.
- Prepare your nails: Remove old polish, file your nails into shape and gently push back the cuticles. The smoother the edge, the cleaner the film will sit later.
- Degrease the surface: Wipe every nail with nail polish remover or rubbing alcohol – even if it looks clean. After that, do not run your fingers over the nail plate and do not apply any cream.
- Choose the size: Wraps come in several widths per set. Pick the size closest to your nail – if in doubt, go slightly narrower so the film does not rest on the cuticle and lift there.
- Stick it on: Peel off the film, position it with a small gap to the cuticle and smooth it from the center outwards. Press out air bubbles with your thumb or a rubber pusher. Stickers are placed the same way: position once, press down, done – repeated repositioning weakens the adhesive.
- Remove the edge: Fold the overhanging part of the wrap over the nail edge and file it off in a downward motion. This creates a clean, sealed edge.
- Seal: A clear top coat over the film or sticker protects the edges, prevents early lifting and evens out the transitions. With UV gel wraps, curing under the lamp takes over this step: cure briefly, file the edge, optionally add a gel top coat.
Making wraps last longer
Depending on preparation and daily life, classic nail wraps last about five days to two weeks, UV gel wraps often even longer. A few habits help you get the most out of them:
- Avoid water contact afterwards: For at least an hour after application, skip long hand-washing sessions, showers or dishes – the adhesive needs time to bond with the nail. Warmth helps: briefly warming the film between your fingers before pressing it down makes it more pliable.
- Reseal the edges: Every few days, run a thin layer of top coat over the nail tip. The tip is the weak spot where films lift first – the same lever as with polish, as you can read in the article on making nail polish last longer.
- Gloves for housework: Dishwater and cleaning agents soften the adhesive. Gloves noticeably extend the wear time.
- Do not use your nails as tools: Opening cans and scratching off labels will eventually pry off any film.
Residue-free removal
The big advantage over gel: removal requires neither a file nor a long soaking time. To keep the natural nail unharmed, one rule applies: never rip them off dry. Otherwise the top layers of the nail can come off with them.
- Loosen with warmth: Briefly blow-dry your nails or hold your hands in warm water. The adhesive softens and you can slowly peel the film off flat from the side – do not pull upwards, but slide it parallel to the nail.
- Work with oil: Massage a few drops of nail or cooking oil into the edge and gently roll the film off. Leftover oil conditions the cuticles at the same time.
- Remove adhesive residue: If some adhesive remains, take it off with nail polish remover or rubbing alcohol. Depending on the product, UV gel wraps can also be peeled off warm or soaked off like gel polish – follow the manufacturer’s instructions here.
Combining them with regular polish and top coat
Stickers and wraps do not have to be an either-or – they truly shine in combination with classic polish:
- Stickers on colored polish: Apply your polish as usual and let it dry completely. The guide on applying nail polish properly shows how to do this without streaks. Only then place the sticker and seal it with top coat – this makes the sticker edge visually disappear into the polish.
- Accent nail: A single nail with a patterned wrap next to solid-colored nails looks elaborate but takes hardly any time.
- French and gradients: Wraps with a French tip or color gradient deliver looks that take a lot of practice freehand – stuck on, they succeed on the first try.
- Top coat is a must: Whatever the combination – a clear seal on top bonds film, sticker and polish into one smooth surface and protects against wear.
Who are nail stickers and nail wraps worth it for?
The peel-and-stick manicure is no substitute for every gel treatment, but for many situations it is the smartest solution:
- For the time-pressed: A complete manicure in ten to fifteen minutes, with no drying time – ideal before spontaneous occasions.
- For beginners: Patterns, French tips and delicate motifs succeed without a steady brush hand.
- For those sensitive to smells: Classic wraps come without solvent odor and need no lamp.
- For frequent switchers: If you want to change your design weekly, films come off faster and more gently than gel.
- With a lamp for longer wear: If you already own a UV or LED lamp and want to enjoy your design longer, go for UV gel wraps – a gel look without the sculpting effort.
Stickers and wraps are less suitable if you have strongly curved or very uneven nails – the film creases more quickly there – or if you want extra length and stability. In that case, press-ons or a salon enhancement are the better choice.
Frequently asked questions (FAQ)
What is the difference between nail stickers and nail wraps?
Nail stickers are small decorative decals placed as accents on polish or the natural nail. Nail wraps are full-coverage films that cover the entire nail and replace nail polish. UV gel wraps are a special form made of semi-cured gel that hardens under a lamp.
How long do nail wraps last?
With good preparation, classic self-adhesive wraps last about five days to two weeks. UV gel wraps usually last longer thanks to curing under the lamp. The decisive factors are oil-free nails, bubble-free smoothing and a sealed nail tip.
Do I need a UV lamp for nail wraps?
Only for UV gel wraps. Classic nail stickers and self-adhesive nail films hold through their adhesive alone and work entirely without a lamp – a clear top coat as a seal is enough.
Do nail stickers and wraps damage the natural nail?
Not when applied correctly. Removal is what matters: never rip them off dry, but loosen them with warmth or oil and peel them off flat. If you tear films off forcefully, you can pull off the top layers of the nail and roughen it.
Can I combine nail wraps with regular nail polish?
Yes. Stickers can be placed on completely dried colored polish, and wraps work well as an accent nail next to painted nails. A clear top coat on top bonds everything into one smooth surface and protects the edges.
How do I remove nail wraps without residue?
Briefly warm the film with a hairdryer or in warm water until the adhesive softens, then slowly peel it off flat to the side. Alternatively, massage oil into the edge and roll the film off. Remove adhesive residue with nail polish remover or rubbing alcohol.