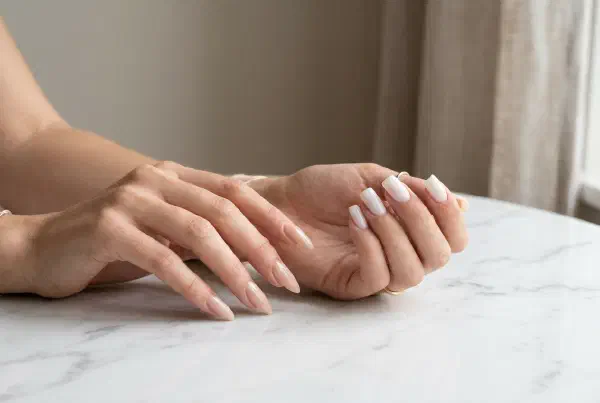
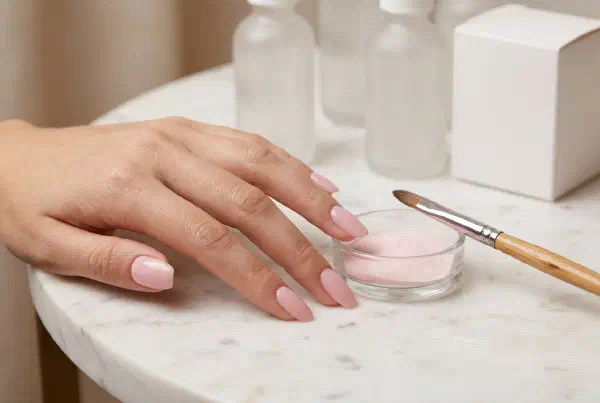
Polygel nails: the flexible blend of acrylic and gel

In this article
Note: This article contains affiliate/advertising links. As an Amazon Associate we earn from qualifying purchases. If you click such a link and buy something, we may receive a small commission – at no extra cost to you.
Polygel nails are considered the best of two worlds: they combine the stability of acrylic with the flexibility and natural feel of gel. The material is a thick, creamy paste that does not self-level and only cures under a UV/LED lamp – so you have all the time in the world to sculpt. That is exactly why polygel has become so popular with beginners. In this article you will learn what polygel really is, which advantages it offers over acrylic and gel, how to apply it step by step with dual forms or nail forms, what the slip solution is for, how long the result lasts and which typical mistakes you should avoid.
What are polygel nails?
Polygel is a hybrid material for nail sculpting and nail extensions. At its core it is a gel with fine acrylic powder worked into it – hence the name. The result is a firm, putty-like creamy paste, usually sold in tubes, that behaves quite differently from liquid gel or classic acrylic.
- Self-supporting: Polygel does not run on its own. It stays exactly where you push it and never drips into the nail fold.
- Cures only under UV/LED: Unlike acrylic, which hardens in the air, nothing happens with polygel without a lamp. You can sculpt and correct without any time pressure.
- Light and flexible: Once cured, polygel is lighter than acrylic and more flexible than hard gel – it gives slightly with the natural nail instead of breaking on impact.
- Low odor: The sharp monomer smell many people know from acrylic is completely absent.
To understand how acrylic and gel fundamentally differ and where the strengths of the two classics lie, read the comparison acrylic or gel – polygel positions itself exactly in between.
Advantages over acrylic and gel
Why should you reach for polygel when acrylic and gel already exist? Because the hybrid material irons out several weaknesses of the two classics:
- Compared with acrylic: No harsh smell, no racing against the setting time and no mixing of powder and liquid. Polygel is also more flexible, which makes it feel more natural and chip less often on impact.
- Compared with gel: Noticeably more stability for extensions without having to build thick layers. Since the paste does not run, a clean structure succeeds with far less filing.
- For beginners: The combination of a self-supporting paste and unlimited sculpting time makes polygel very forgiving. If you have ever done gel nails yourself, you will feel at home immediately – much of it is even easier.
- Light wearing feel: Polygel is noticeably lighter than acrylic. Especially with longer extensions you will appreciate this in everyday life.
In short: polygel takes the stability from acrylic and the flexibility from gel – and largely leaves out the drawbacks of both systems.
Slip solution: what the liquid is for
The slip solution is your most important helper when working with polygel. Because the paste is so firm and sticky, it would cling to a dry brush. The slip solution is an alcohol-based liquid you dip your brush or tool into before shaping the polygel.
- It makes the brush glide: This lets you smooth and distribute the material without it stringing or sticking.
- It does not thin the product: Unlike with some gel systems, the slip solution does not change the material – it only creates a gliding layer on the tool.
- Use it sparingly: The brush should be damp, not dripping wet. Too much liquid can impair adhesion and curing.
If you do not have slip solution at hand, high-percentage isopropyl alcohol works in many cases – the dedicated solution, however, is gentler on the material and evaporates more slowly.
Tutorial: polygel with dual forms or nail forms
There are two routes to polygel extensions: dual forms (also called dual tips), which are pressed onto the nail like a mold, and classic nail forms, on which you sculpt the material freely. Dual forms are the faster route for beginners, nail forms offer more freedom in shape and length – you will find an overview of the common shapes from almond to coffin in our guide to nail shapes.
- Prepare the natural nail: Push back the cuticles, file the nail into shape, lightly buff the surface to remove the shine and cleanse it thoroughly. Then apply primer or bonder.
- Apply base: Brush on a thin layer of base coat and cure it under the lamp – it noticeably improves the adhesion of the polygel.
- Portion the polygel: Squeeze a small amount (about pea-sized, depending on nail size) from the tube and pick it up with the spatula.
- With dual forms: Place the polygel into the matching dual form, spread it evenly with the brush dipped in slip solution and press the form centered onto the nail. Remove excess material at the edges.
- With nail forms: Fit the form under the free edge of the nail, apply the polygel to nail and form and sculpt it to the desired shape and length with the damp brush.
- Cure: Cure the nail under the UV/LED lamp according to the manufacturer’s instructions – with dual forms it is best to flash-cure briefly, then peel off the form and cure completely.
- Refine the shape: Remove the dual form or nail form, smooth the edges and surface with a file or buffer and file the final shape.
- Seal: Wipe off the sticky layer, apply top coat, cure – done. Now you can add color or enjoy the natural finish.
If you are curious about other extension techniques, it is worth taking a look at the different nail extension methods in comparison.
Wear time and infills
Applied correctly, polygel nails last about three to four weeks – comparable to a good gel manicure. At some point the grown-out area at the base of the nail becomes visible, and then it is time for an infill:
- Refill instead of rebuild: During an infill, the transition at the base is blended, the surface is buffed and fresh polygel is applied only to the regrowth area.
- Every three to four weeks: This preserves the structure and gives lifting (edges coming loose) far less of a chance.
- Care extends the wear time: Cuticle oil, gloves while cleaning and never using your nails as tools – this applies to polygel just as much as to any other enhancement.
Removing polygel
Polygel usually cannot be reliably dissolved in acetone – it is primarily filed off. Here is how:
- Shorten: Carefully trim the extension with a nail clipper or a coarse file.
- File down: Remove the material layer by layer with a file or – faster and more evenly – with an e-file (nail drill). Important: never grind down to the natural nail.
- Leave a fine residual layer: A wafer-thin remaining layer protects the natural nail and simply grows out or serves as the base for the next set.
- Aftercare: Buff the nail, massage in cuticle oil and give your nails a few days of rest if needed.
The technique is similar to removing dip powder – our dip powder tutorial shows you how that works in detail.
Typical beginner mistakes
These pitfalls cost you wear time or nerves – and are easy to avoid:
- Too much slip solution: A dripping-wet brush waters down the surface and can compromise adhesion. The brush should only glisten slightly.
- Poor preparation: If the natural nail is not cleansed and buffed, the polygel will start lifting at the edges after just a few days.
- Material on the cuticle: If polygel touches skin or the nail fold, it creates a leverage point for lifting. Better to leave half a millimeter of space.
- Layers that are too thick: Polygel does not need bulk to be stable. Thick mounds cure poorly and look clunky.
- Curing too briefly: Every layer must cure completely under the lamp – otherwise the material stays soft at the core and breaks.
- Wrong dual form size: The form must fit from sidewall to sidewall. A form that is too small leaves gaps, one that is too big presses into the skin.
Who is polygel suitable for?
Polygel is a good choice for almost everyone – but especially for these groups:
- Beginners: Thanks to unlimited sculpting time and the dual form technique, first extensions succeed much more easily than with acrylic or builder gel.
- Sensitive noses: If you cannot stand the smell of acrylic liquid, polygel gives you stability without monomer.
- Anyone with soft, bendy natural nails: The flexible overlay supports the nail without making it rigid.
- Fans of a natural look: Polygel can be sculpted very thin yet stable – ideal for a light, natural result.
Polygel is less suitable if you want extremely long, heavily stressed extensions – this is where classic acrylic plays out its maximum hardness.
Frequently asked questions (FAQ)
What exactly is polygel?
Polygel is a hybrid material made of gel with fine acrylic powder worked into it. It comes out of the tube as a firm, self-supporting paste, does not run and cures exclusively under a UV/LED lamp. It unites the stability of acrylic with the flexibility of gel.
Is polygel better than gel or acrylic?
That depends on your goal. Polygel is more stable than most gels, more flexible and lighter than acrylic, low in odor and easier to work with. For extreme lengths, acrylic remains the hardest option; for a wafer-thin natural look, classic gel may be enough. As an all-rounder, polygel is hard to beat.
What do I need the slip solution for?
The slip solution makes the brush glide so the sticky polygel can be sculpted smoothly without clinging to the tool. It does not thin the material. The brush should only be slightly damp – too much liquid harms adhesion.
How long do polygel nails last?
With clean preparation and application, polygel nails last about three to four weeks. After that, the grown-out base is infilled – a complete new set is not necessary.
How do I remove polygel again?
Polygel is filed off: first shorten the nails, then remove the material layer by layer with a file or e-file and leave a wafer-thin residual layer on the natural nail. Polygel usually does not dissolve reliably in acetone.
Can I apply polygel myself as a beginner?
Yes – polygel is considered one of the most beginner-friendly systems. The paste does not run, you have unlimited time to shape it, and with dual forms the extension almost works like a casting mold. What matters is good preparation of the natural nail and complete curing of every layer.